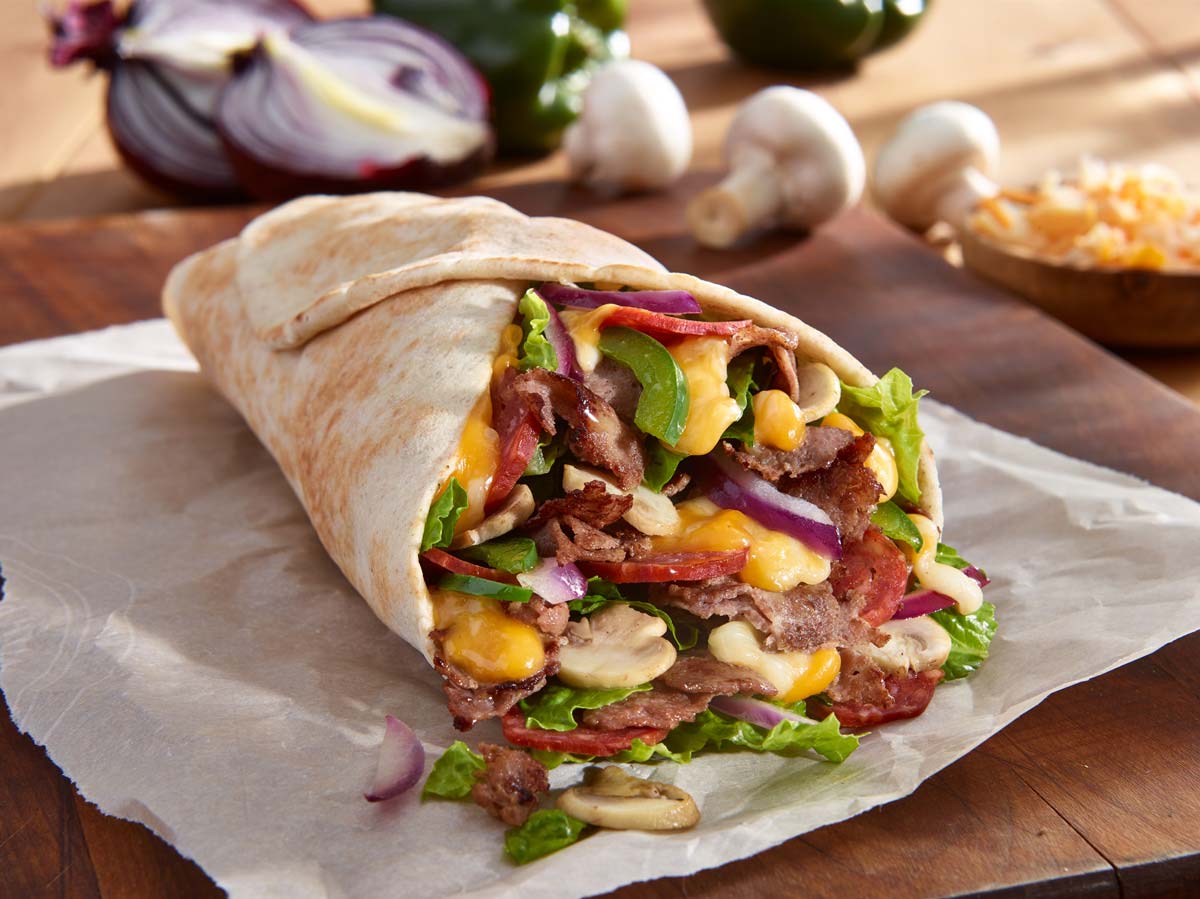
1. Food Photography Ideas of Pita
Food Photography Ideas of Pita. Credit by: BP Imaging
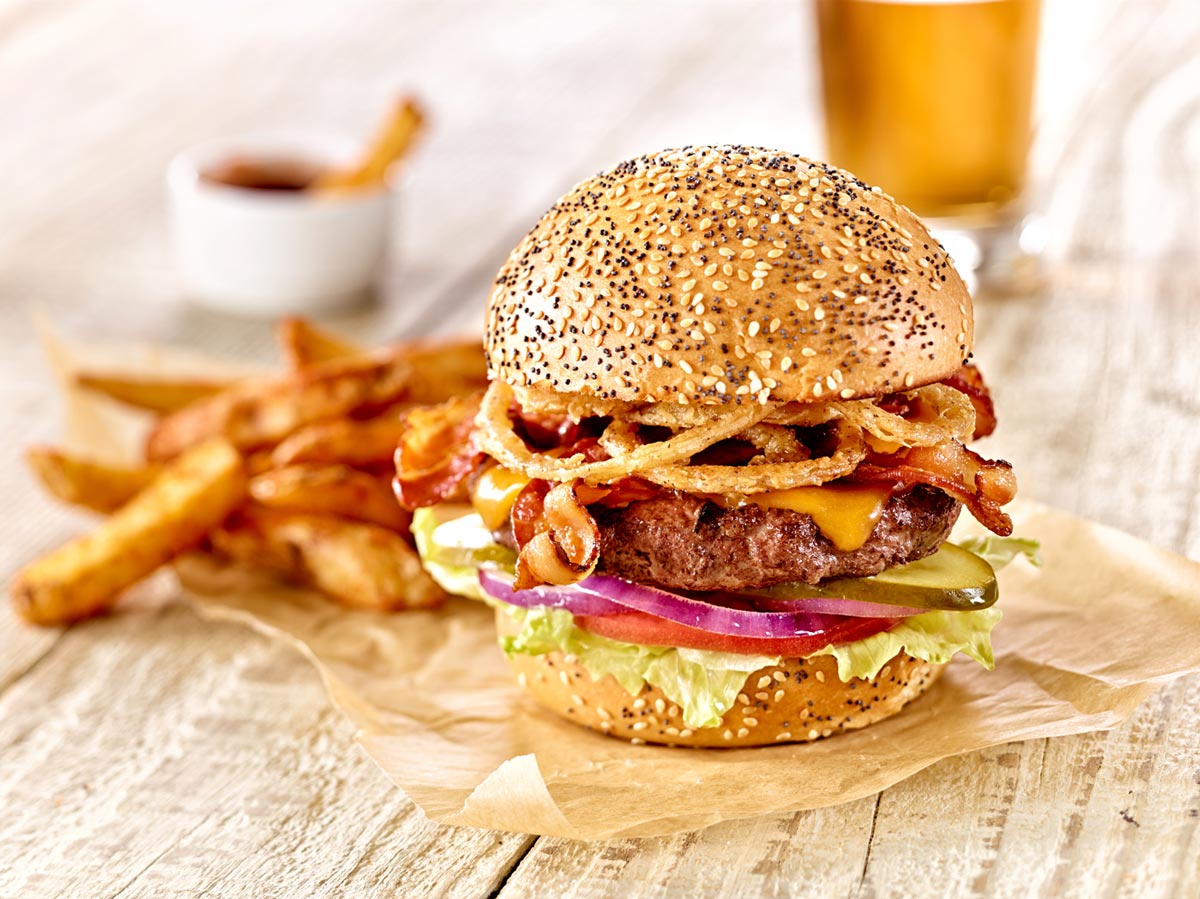
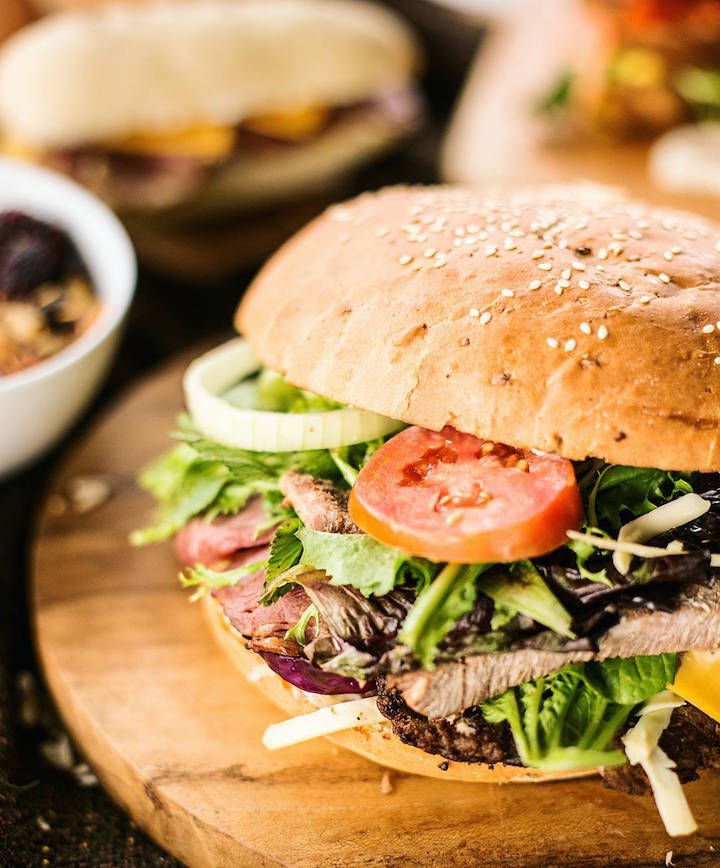
2. Food Photography Ideas of Hamburger
Food Photography Ideas of Hamburger. Credit by: BP Imaging
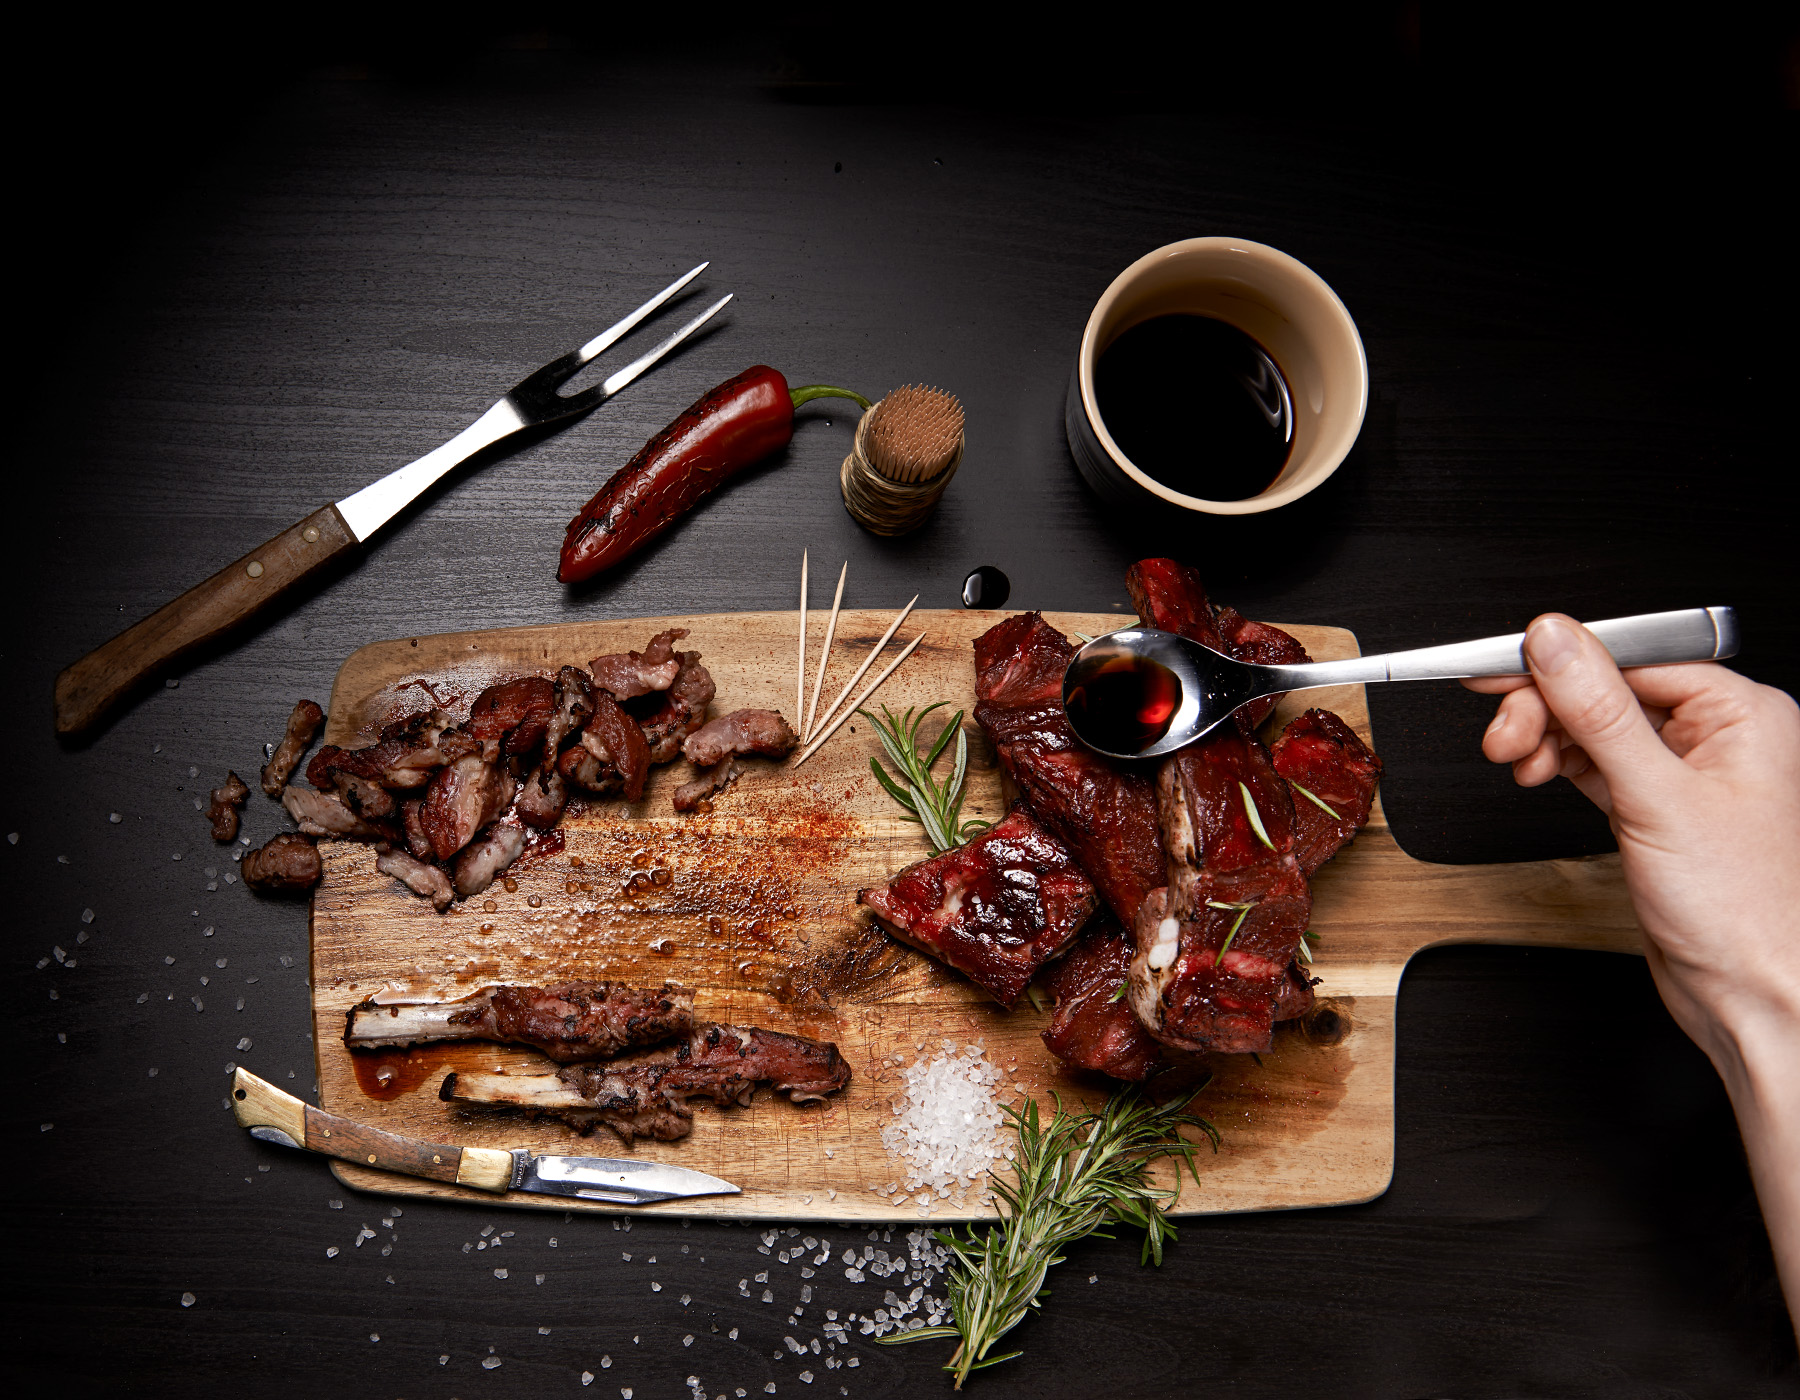
3. Food Photography Ideas Image
Food Photography Ideas Image. Credit by: White Cloud Photographic
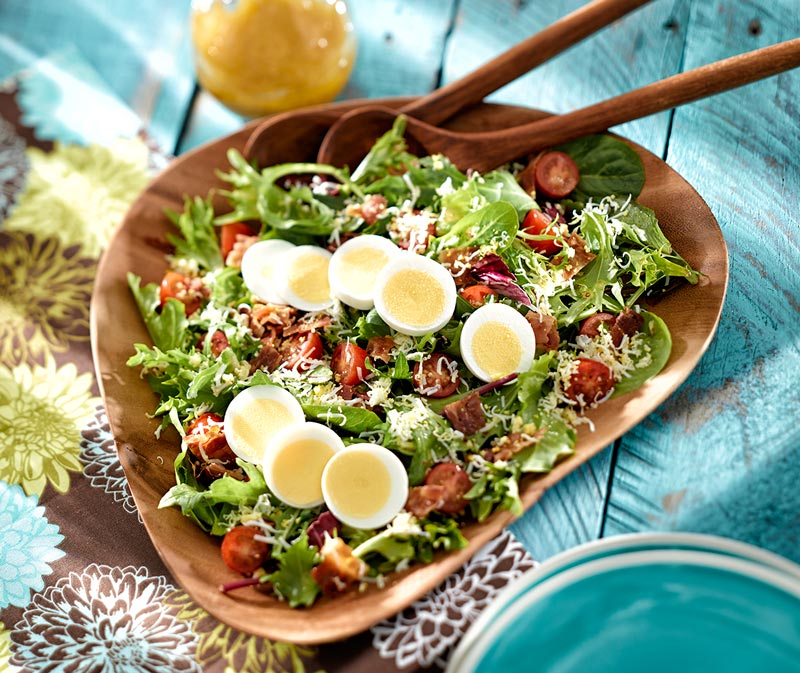
4. Food Photography Ideas of Egg Farmers of Ontario Salad
Food Photography Ideas of Egg Farmers of Ontario Salad. Credit by: BP Imaging
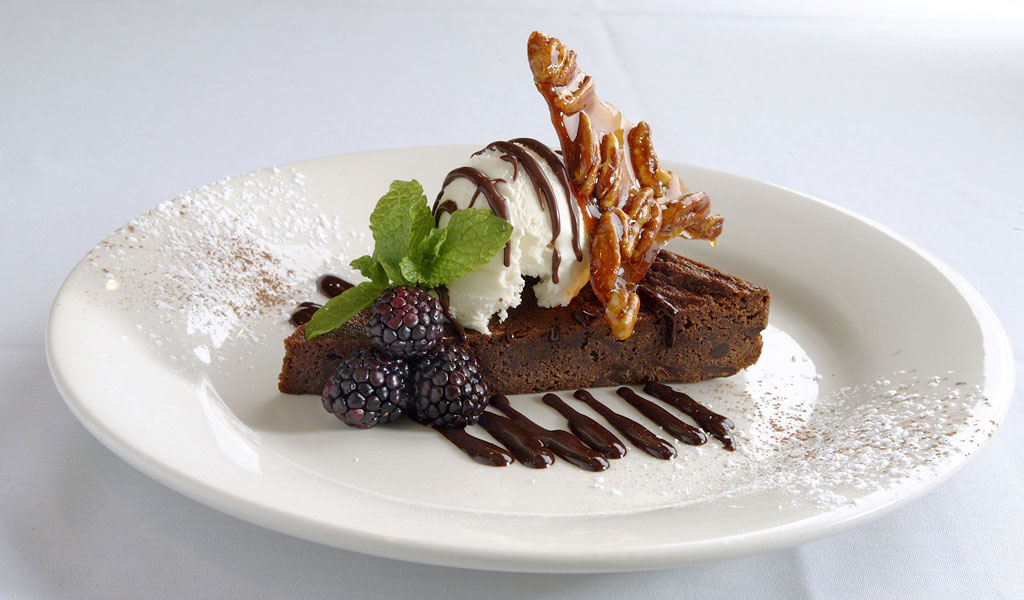
5. Food Photography Ideas 2018
Food Photography Ideas 2018. Credit by: Photografius
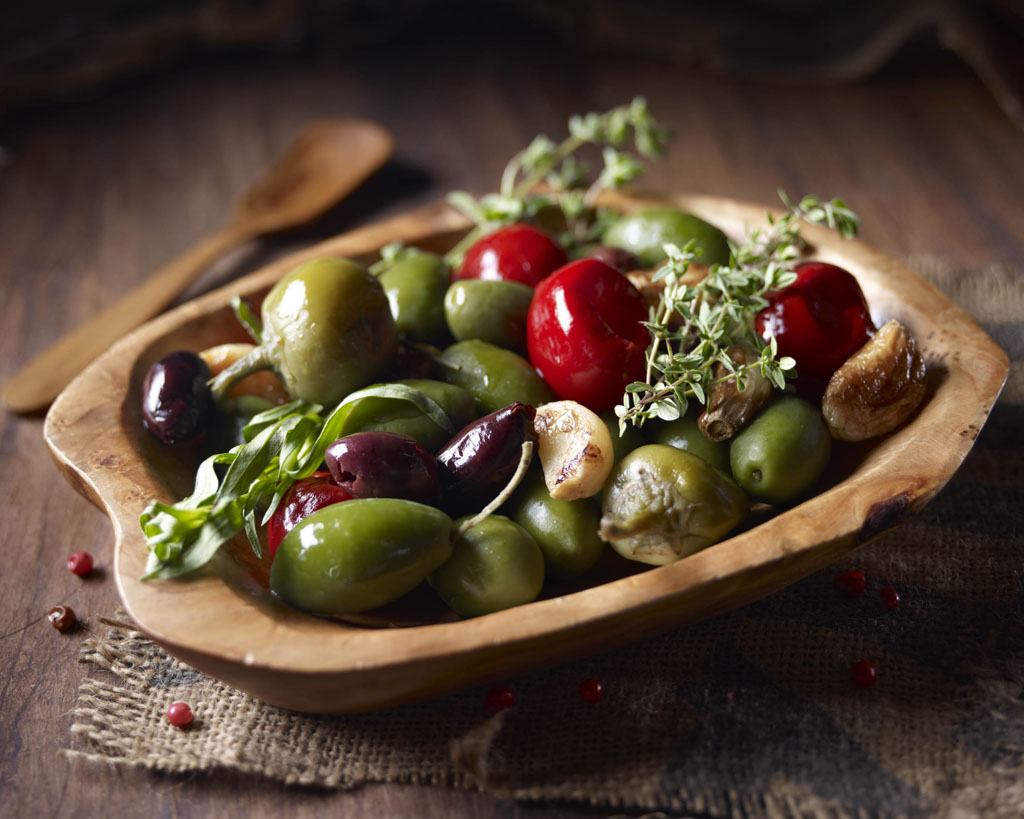
6. Food Photography Ideas of Olives
Food Photography Ideas of Olives. Credit by: Michael Ray
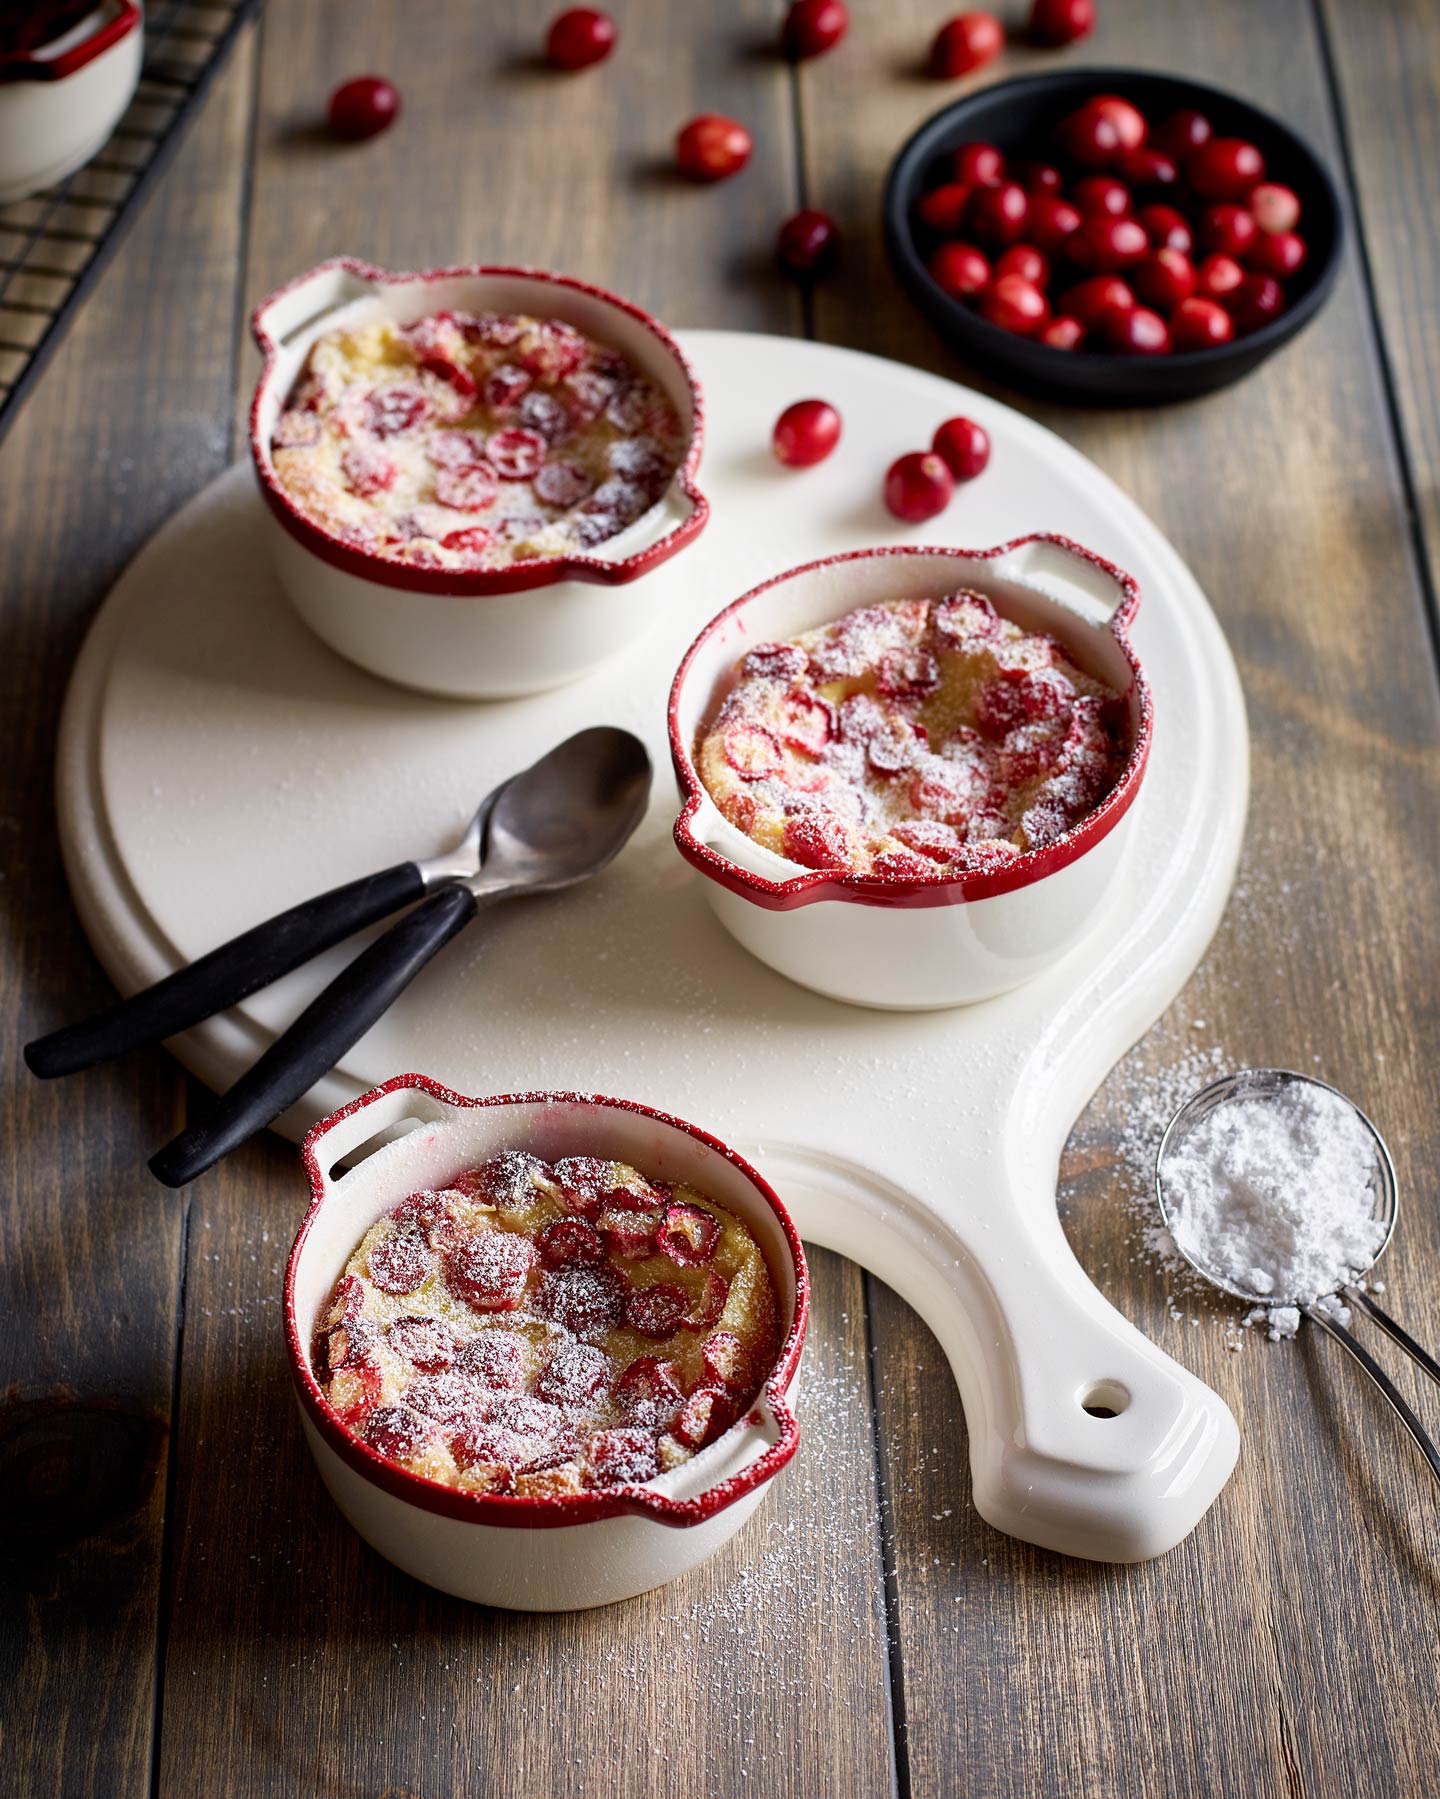
7. Food Photography Ideas of Cranberry Dish
Food Photography Ideas of Cranberry Dish. Credit by: BP Imaging
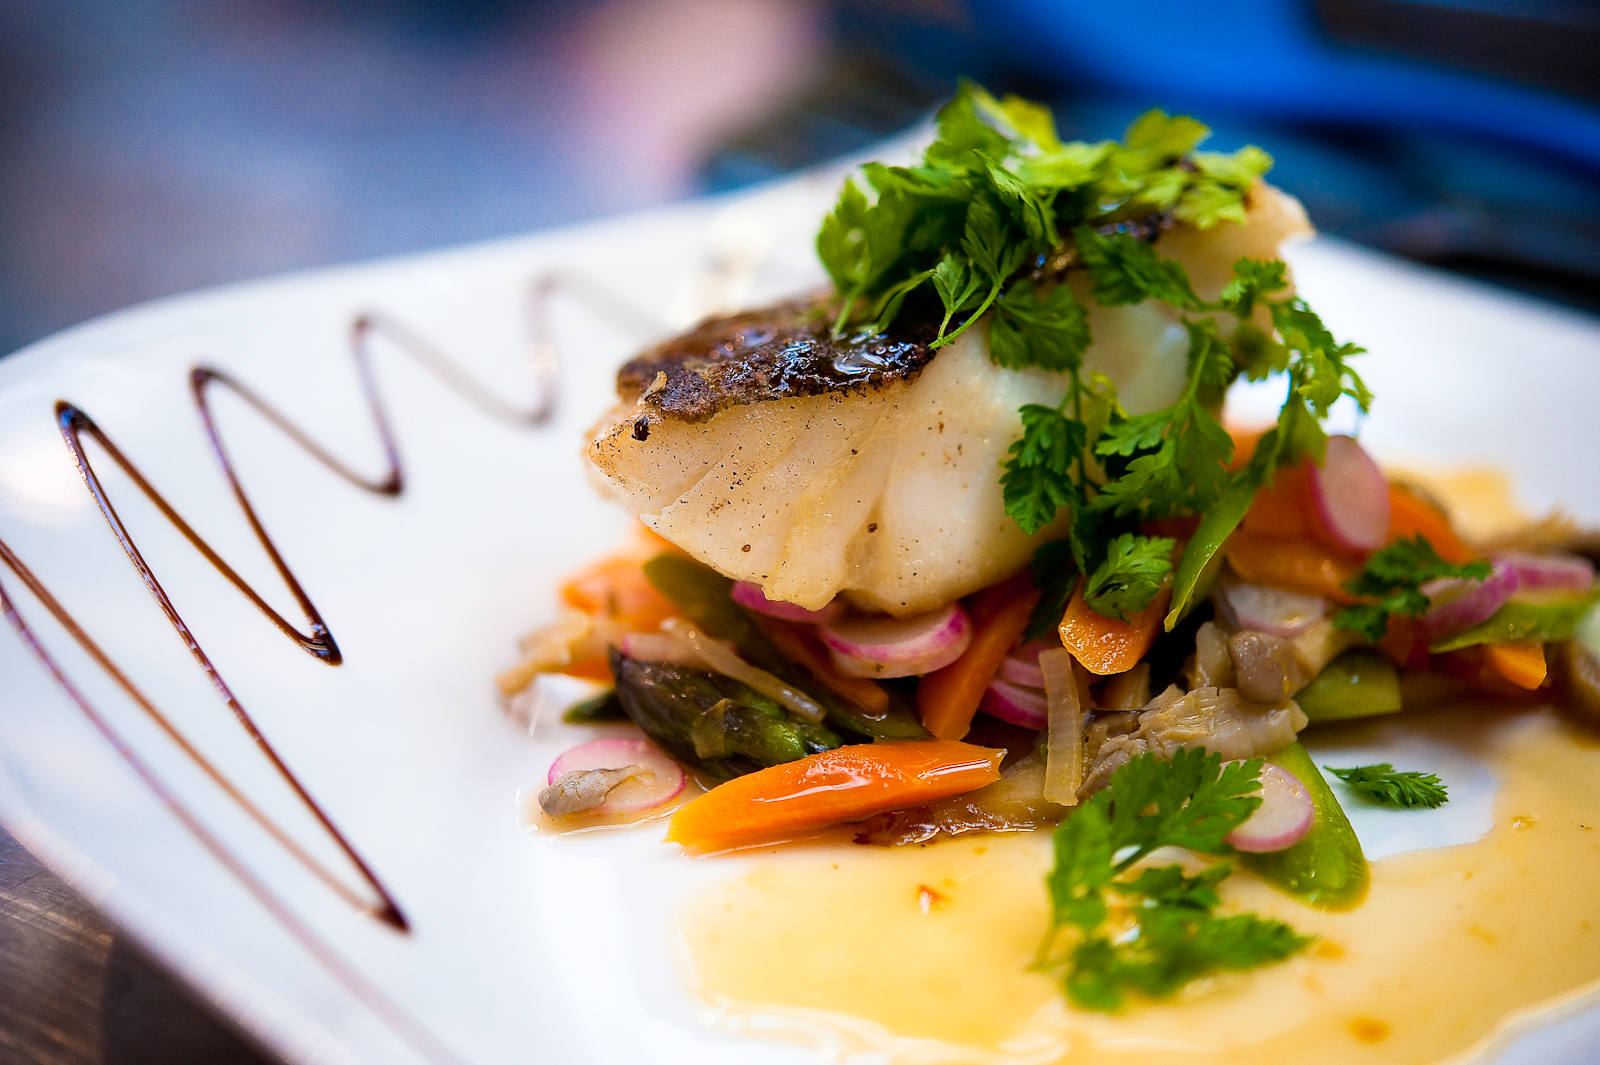
8. Food Photography Inspiration
Food Photography Inspiration
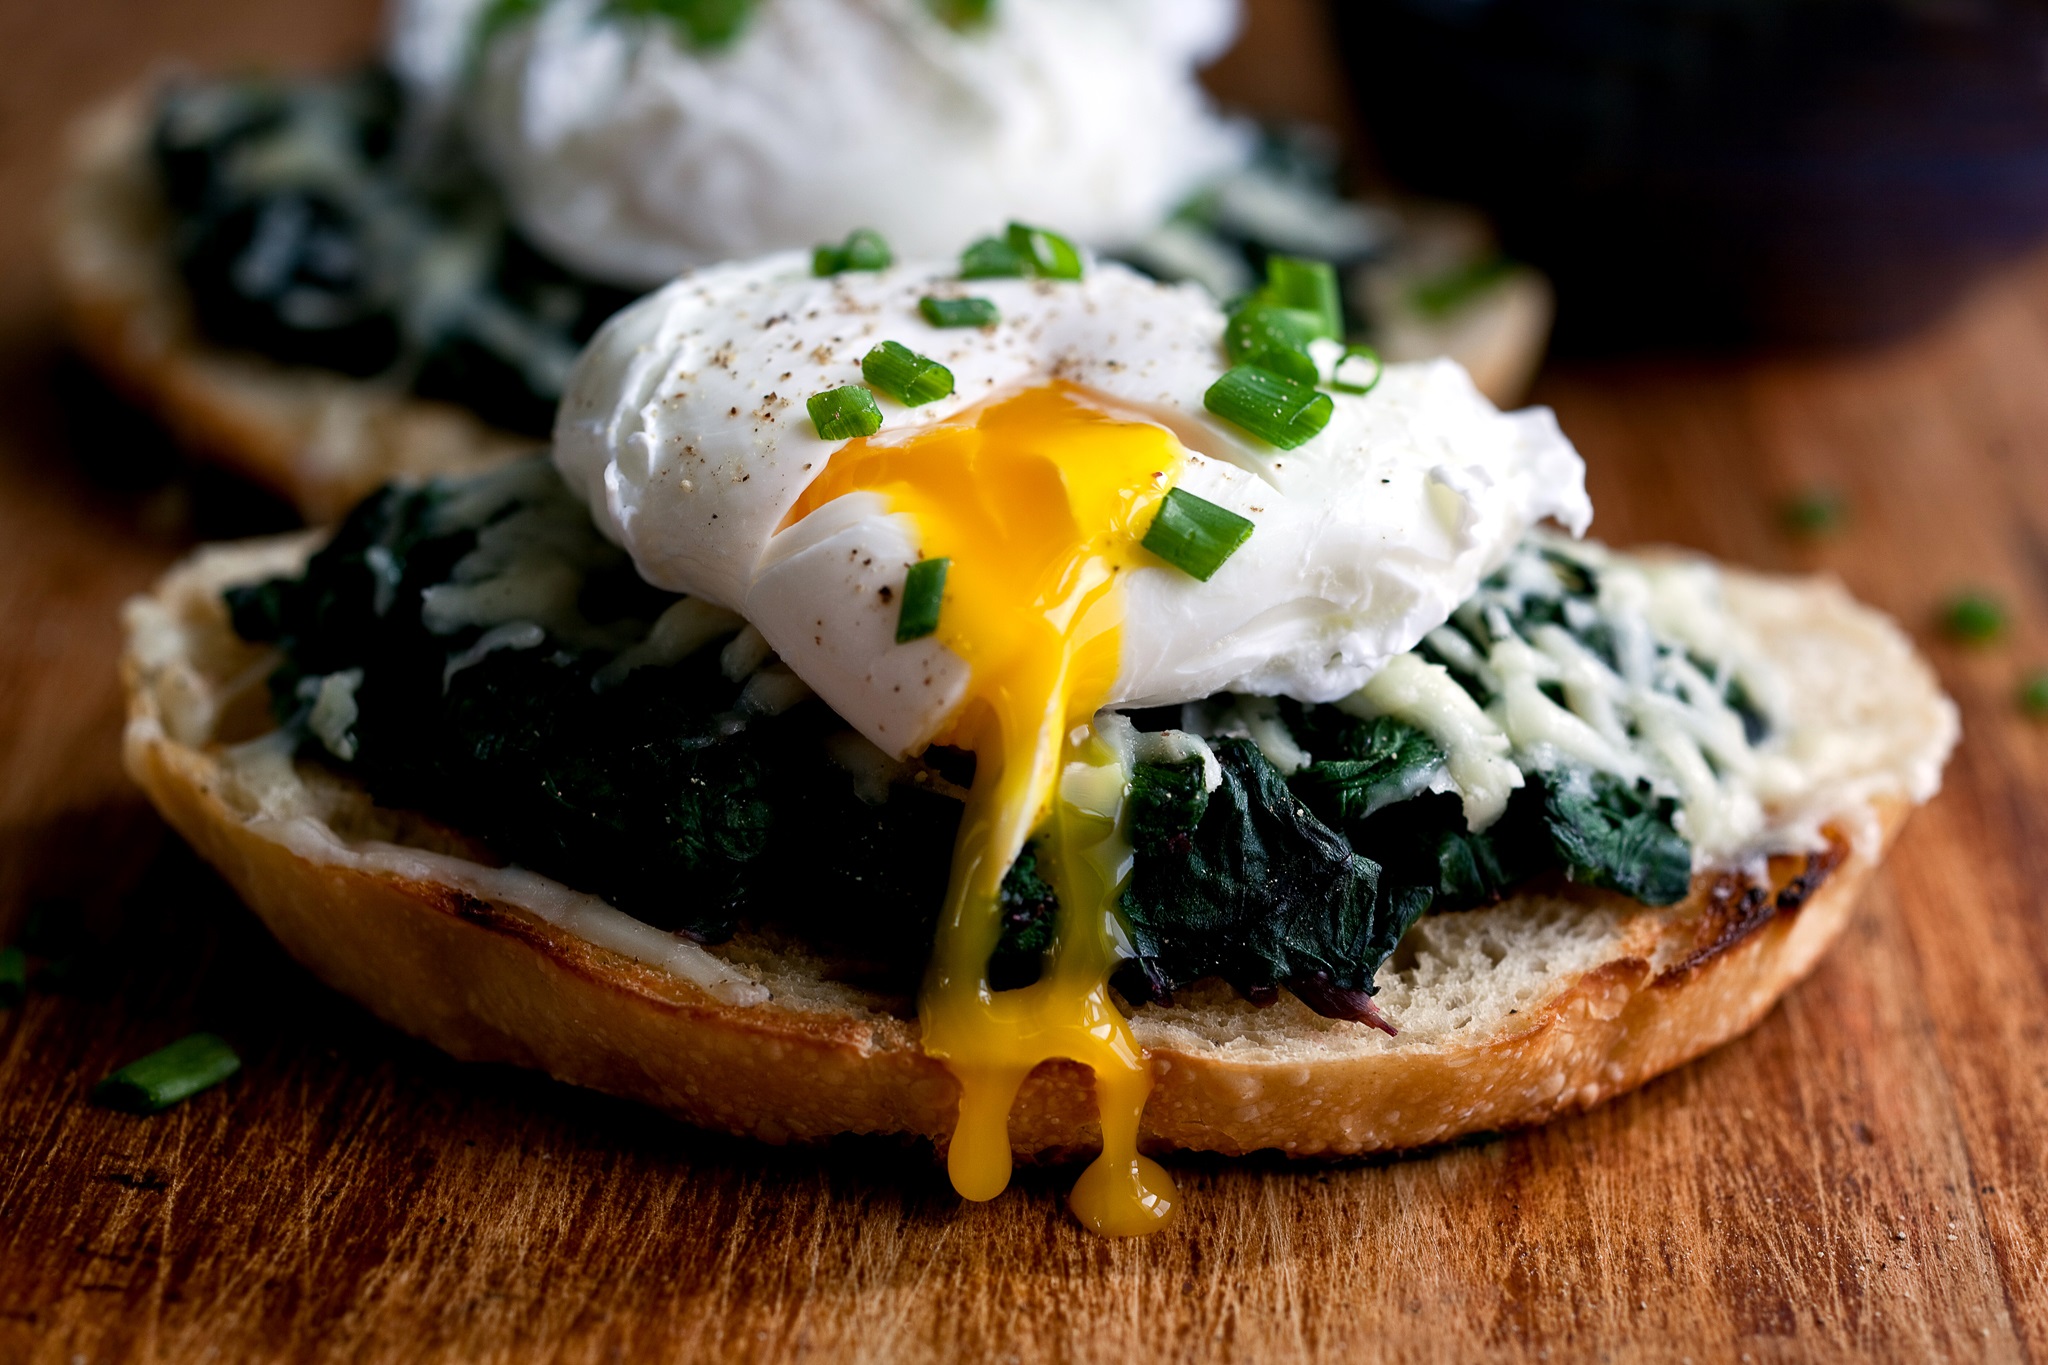
9. Food Photography Ideas Pictures
Food Photography Ideas Pictures. Credit by: andrewscrivani
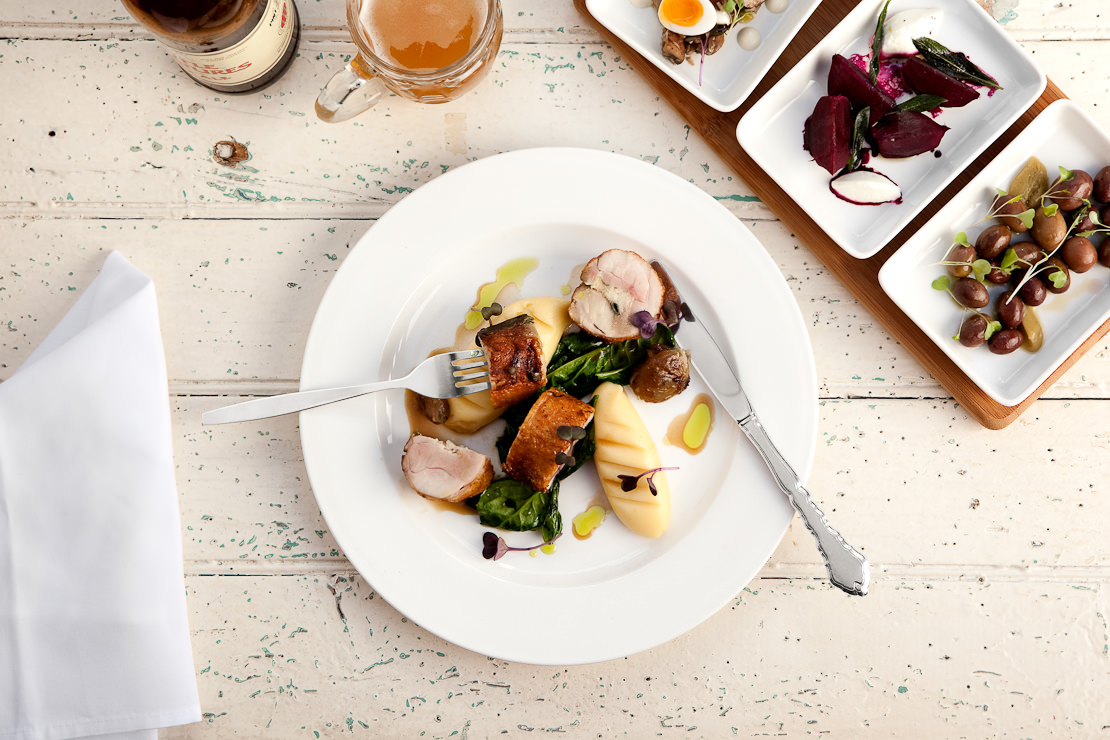
10. Food Photography 2018
Food Photography 2018. Credit by: marklobo
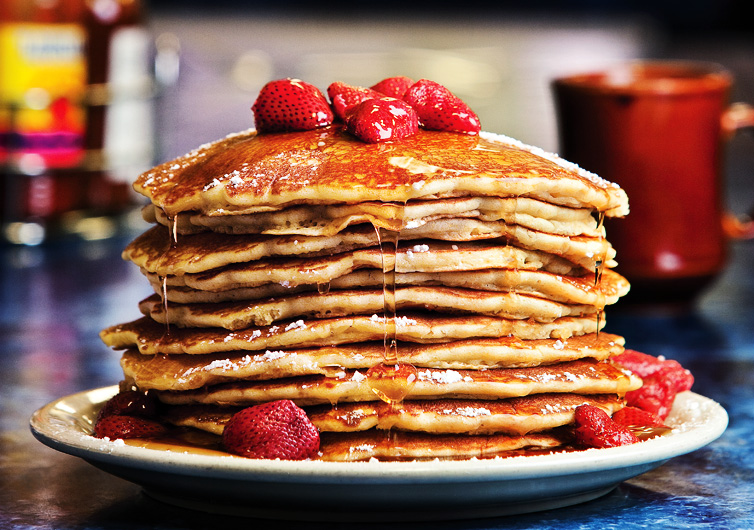
11. Food Photography Ideas of Pancake Stack
Food Photography Ideas of Pancake Stack. Credit by: jasonkindig
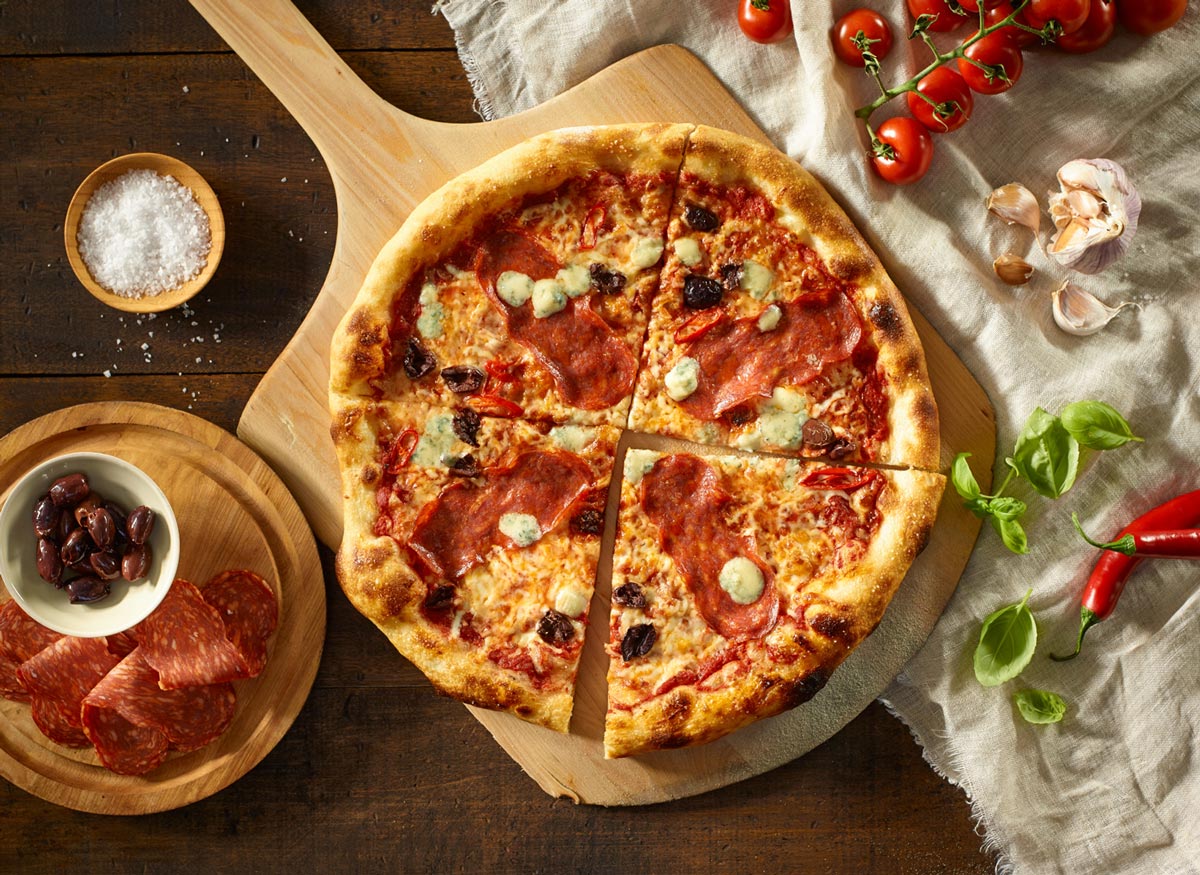
12. Food Photography Ideas of Brick Oven Pizza
Food Photography Ideas of Brick Oven Pizza. Credit by: BP Imaging
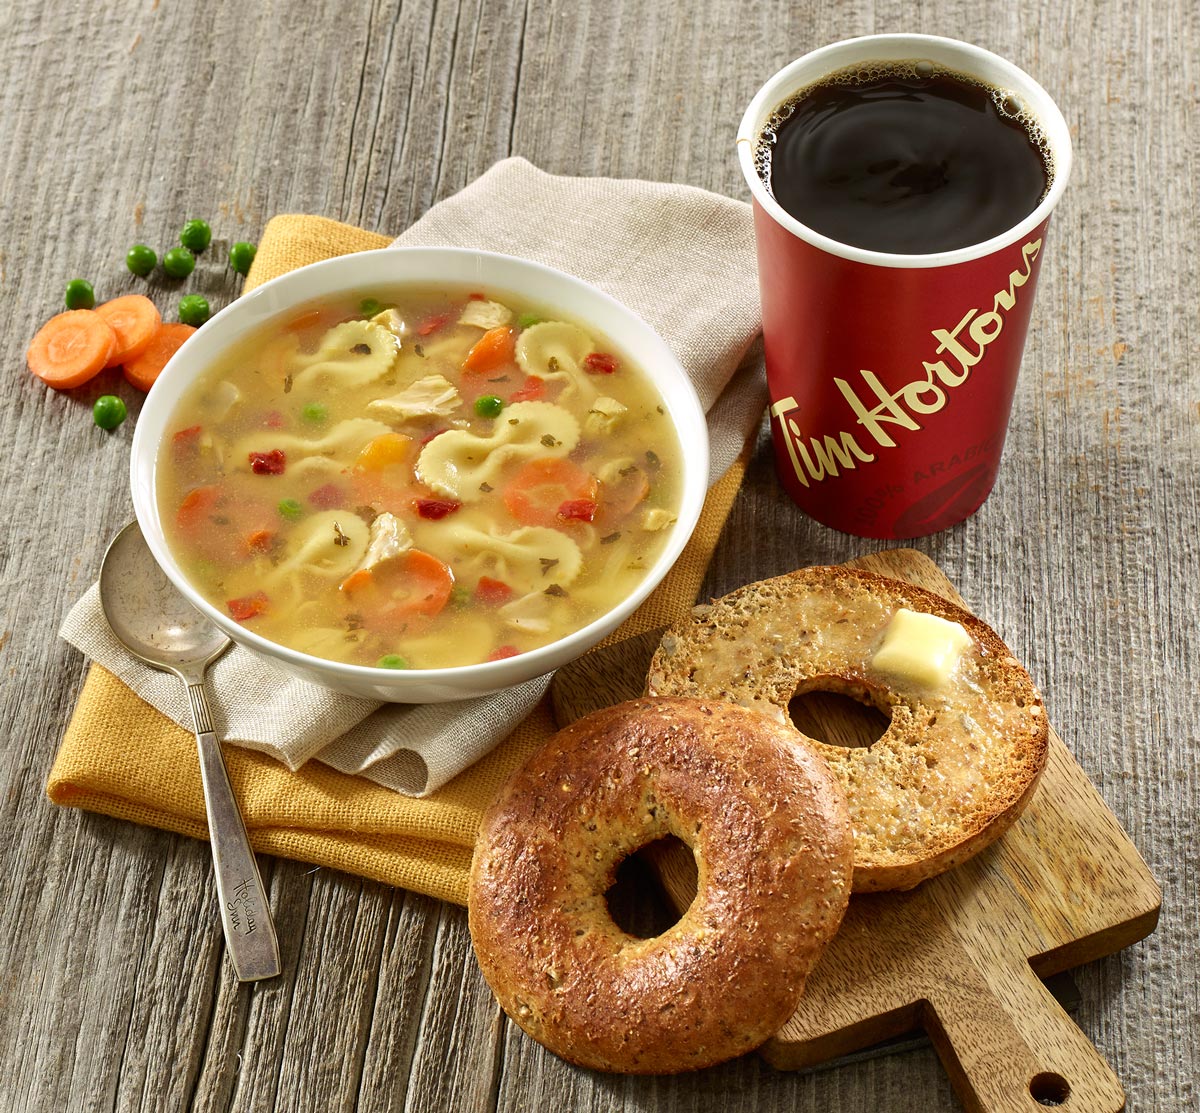
13. Food Photography Ideas of Tim Hortons
Food Photography Ideas of Tim Hortons. Credit by: BP Imaging
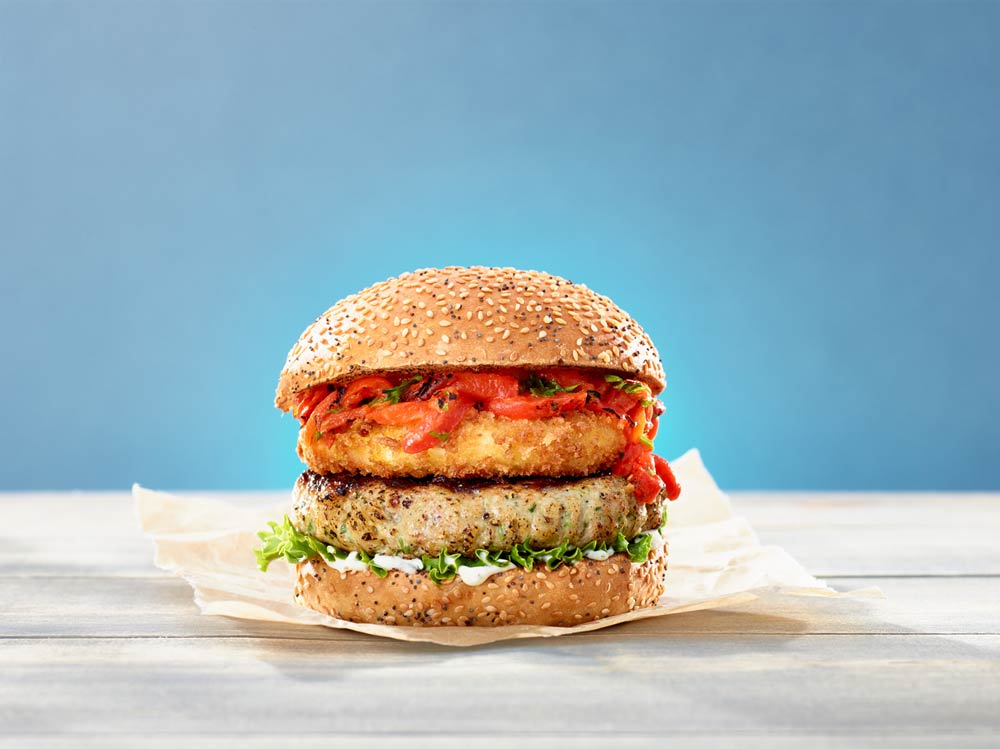
14. Food Photography Ideas of Hamburger
Food Photography Ideas of Hamburger. Credit by: BP Imaging
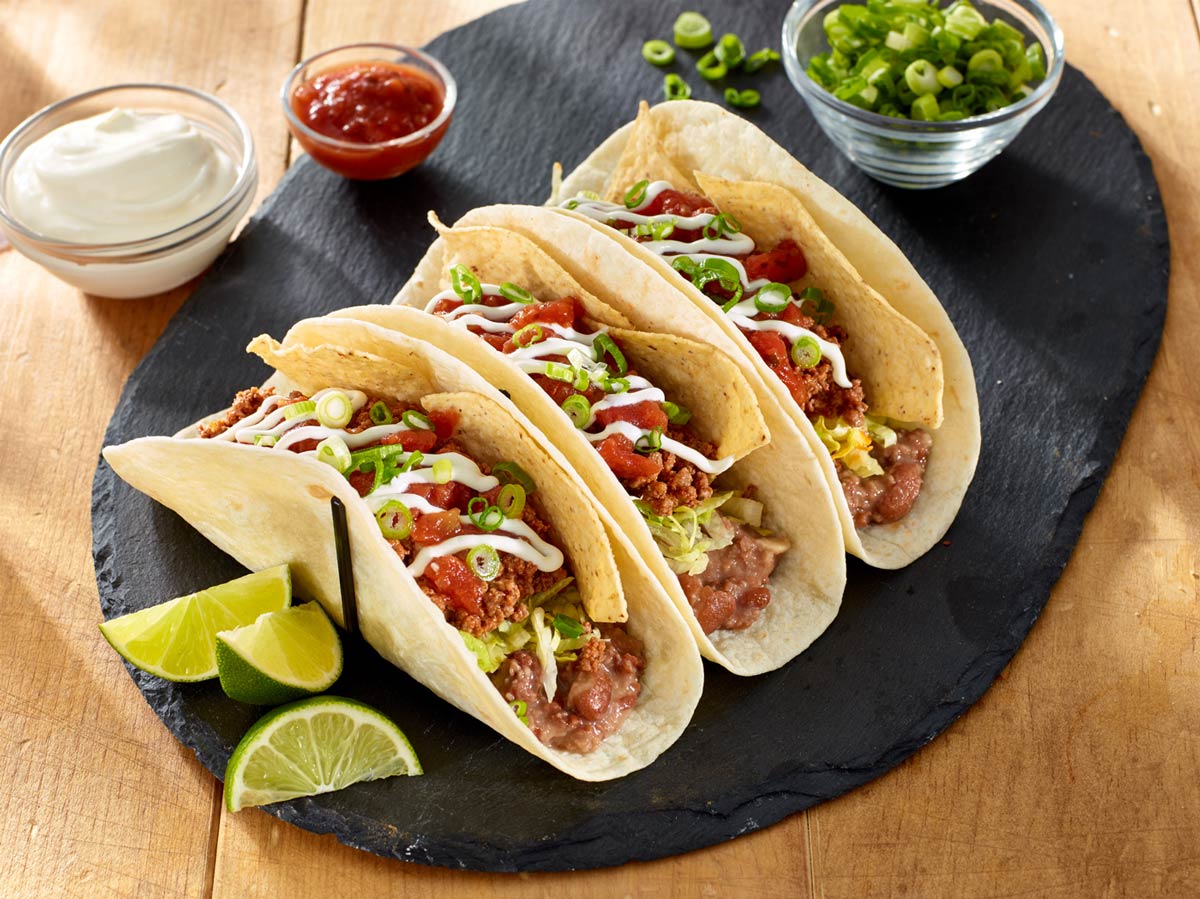
15. Food Photography Ideas of Tacos
Food Photography Ideas of Tacos. Credit by: BP Imaging
Food is one of the strong elements in showing and introducing the identity of a travel location or a restaurant. For this reason, people are competing to produce food photography with a good look to their place to attract sympathizers to visit their places.
Food photography is a type of photography that uses food as a shooting object. Food photography can be described as someone making a painting, where it all starts with something empty. The better drawn, the perfect balance between reality and art in your mind will appear. Everything that is displayed and placed in the photo is the perfect choice and decision that the photographer has thoroughly considered.
For most photographers, food photography is a difficult thing to do and make a headache, because, in addition to drafting the basic concept of shooting, you also have to ensure that the food you want to be used as a subject in the photo shoot, should still look fresh as when you first saw it .
And here are 10 great tips and techniques for those of you who want to learn to make food photography to be able to produce cool and amazing food photos.
1. Use a small portion of food
In general, everyone eats with a full portion, but in food photography, it is not so. The fewer portions of food you display in a dish, it is getting better. Because the portion of food in small quantities will bring more attention to the food itself. In addition, a small portion of food provides an interesting picture of a food. Therefore, give enough room for the audience to look at objects from every photo of the food you make. Remember, the more components you display in your photos, it can actually make your food photography less focused. That’s why keep the simplicity of the food you intend to display to produce fascinating and amazing results.
2. Use food while it’s still hot
Photographing using a hot food subject has a time limit. That is why make the most of the time. For example, if you want to take a picture using a subject such as a soup with a still warm vapor look, then adjust your camera settings beforehand and make sure that props or other supporting elements are already set up. Because if your preparation is right, then you will get a satisfactory result. In addition, if a dark background is not available during shooting, then use additional light or reflector to provide sufficient lighting for your subject.
3. Turn off your On-Camera Flash
Flash cameras can give a bad effect on every food. This is due to the presence of large amounts of light in each moist area. Therefore, turn off the flash on your camera when you want to make food photography. More than that, strange and unattractive shadows will also appear on your food, plates, or both.
4. Use Tripod
Tripod is a very helpful device when you want to do food photography. Tripod can be used to keep the camera in stable condition and not rocking while shooting. Tripod thoroughly facilitate a person while doing food photography. Why? Because by using a tripod, your hands are completely free to determine your dish style.
5. Preserve the color
The excessive color will make all photos look conspicuous. However, this does not mean that you can not get a good picture by combining the colors that exist. Despite the fact that not all places can deliver good results in the shooting, make sure that you have considered the lighting composition you will use in covering every missing shooting element, which usually gives a significant effect on each image. The combination of a variety of colors that suit and precisely can improve the quality of your photos. That’s why pay attention to the differences of each component that exists in each food and place decorations or even cutlery that has a nice contrast to your subject. In addition, setting the right and correct compositions will provide tremendous appeal to your food photography. Therefore, be wise in determining the combination of colors to be used.
6. Lighting
Light is king. This can not be denied especially in the world of photography. But if the light in your shooting is too bright, then it is not good. That is why you should look for tools in controlling the light itself, will greatly help improve the quality of your food photography. Besides that, if you use light in small amounts, then you will damage your photos and make the people who like your photos disappear one by one. Why? Because light is necessary. Remember, it is the light that gives the atmosphere of life in every photo you make. So make sure that the light you use is not too big or too small so people will not turn away from your photos. If you do shoot using direct light such as sunlight, then use a diffuser to improve the quality of the light.
Here is a little secret, when you work by using natural light. The secret is blocking (sometimes also called “gobos”). Often, the light of the sun you get falls on your background or props thus causing the light to become bright or even brighter than your subject. Use a black card to block the light that you want to compete with your subject. This is also a very important technique for creating dark shadows with stylish images.
7. Use different angles
There is so much food photography using the same angle. Sometimes, this principle can work well. But performing with different angles from each shoot is almost always more interesting and impressive, compared to just focusing on one angle alone. The classic angle is as far as the eye can see, ie looking straight down from above. Although interesting, try not to use this as the default view because this angle might make you lose something in highlighting the essential elements of a food.
Just like humans, a similar thing also applies to food. Take advantage of every shooting angle that exists to create an exciting photography of food. It is undeniable that the concept that has been neatly arranged in your mind does not always produce the best photographs. That is why do not use one angle alone in the photo shoot.
Generate the photo as you wish. But remember that the colors in every shoot are important, especially if you are shooting for your customers. Different angles would be better for different types of photos. This means that if you get a picture with a good angle for a subject like a cupcake then a similar angle will not necessarily give a good picture for another subject like ice cream. For that, be careful in choosing your angle because it is your choice. If that is your choice, then choose wisely.
8. Show Simplicity
Planning is important, especially in food photography. Without proper planning, the resulting photo is not interesting. That is why plan everything before taking a photo shoot. Good food photography presents the simplicity of the food itself. The more components that are included in the subject of your shoot, then it will distract people from the main subject you want to show.
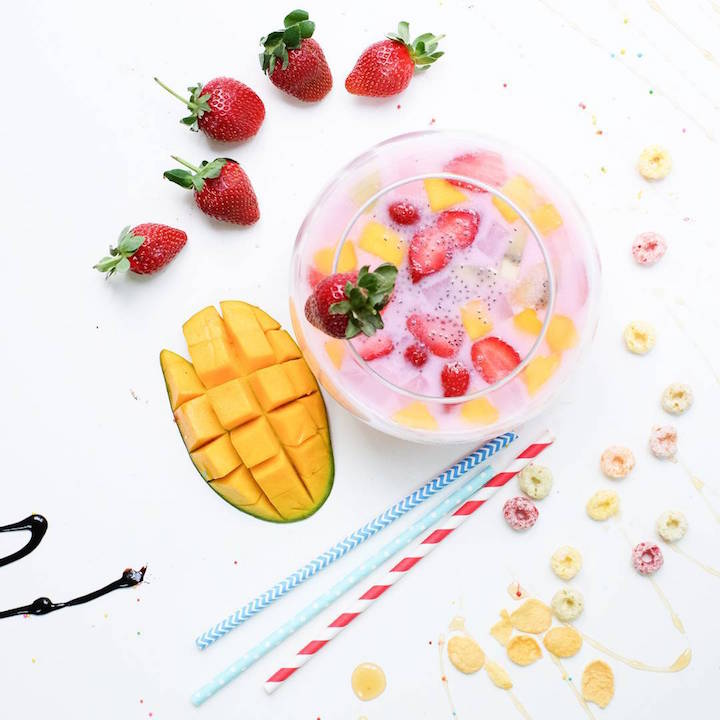
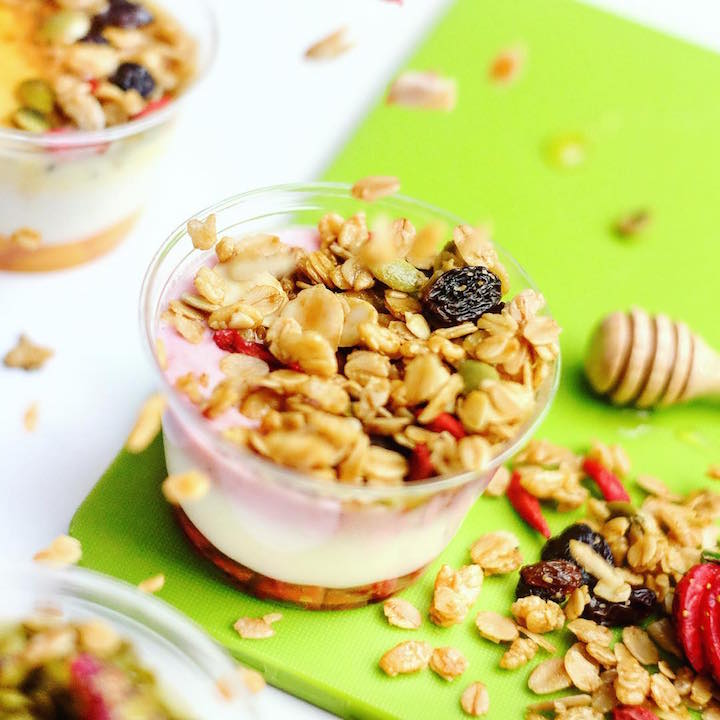
9. Show the basic ingredients of the food
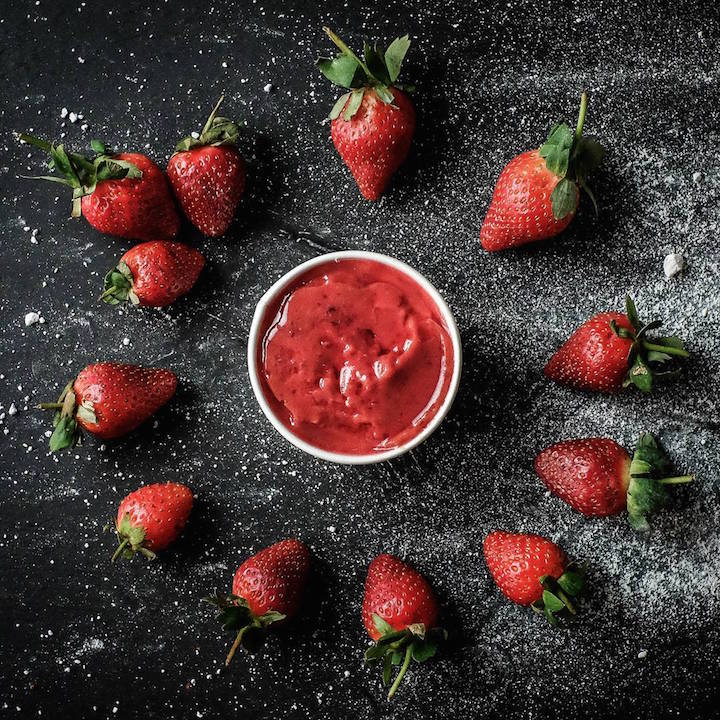
As an ornament that makes your photos more fantastic, try to add the basic ingredients of the food. Like the example below, the strawberry-tasted yogurt has been surrounded by original strawberries as a visual enhancement. And the result is very fun to see because the color combination of yogurt and fruit is very harmonious.
10. Include an action on the food
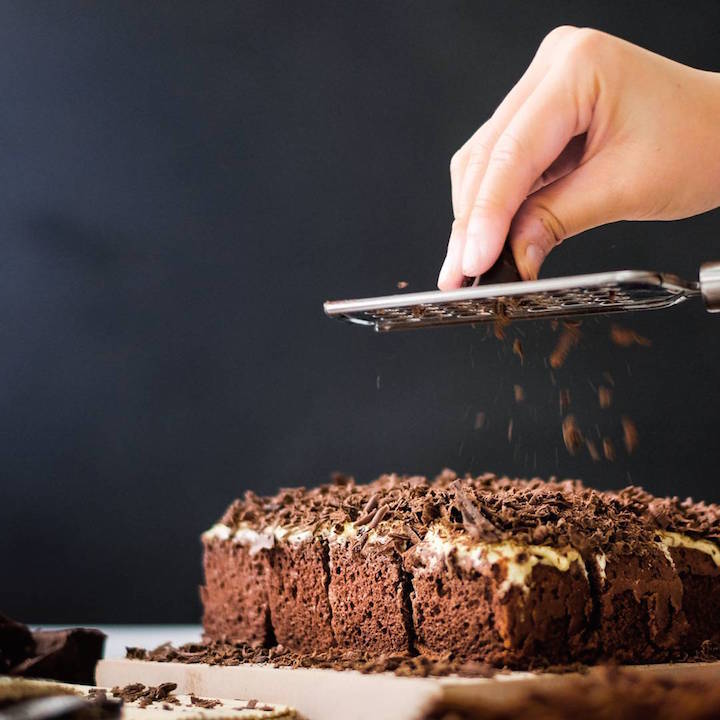
Try capturing a moment in which an action is being performed by the renderer. For example, grated chocolate and sprinkled on a cake. This can add tremendous impact to your photos. Some other actions such as cutting, or brewing soup can also be tried.
Conclusion
Food photography is a thing that is often called “easy-hard” to do, why? Because this is related to composing a story. That is, everything must be planned and arranged neatly to give good results. That is why some people give up to do it. In all areas of photography, it definitely needs a process in order to get good results in every shoot. Patience, training, perseverance, and passion not to give up easily, is the key to success in starting food photography. Therefore, do not be disappointed if the first result you get is less than satisfactory or not in line with your expectations. Keep trying and learning. Because effort and hard work will be forever rewarded with satisfying and exhilarating results. Good luck!